The Creative Process
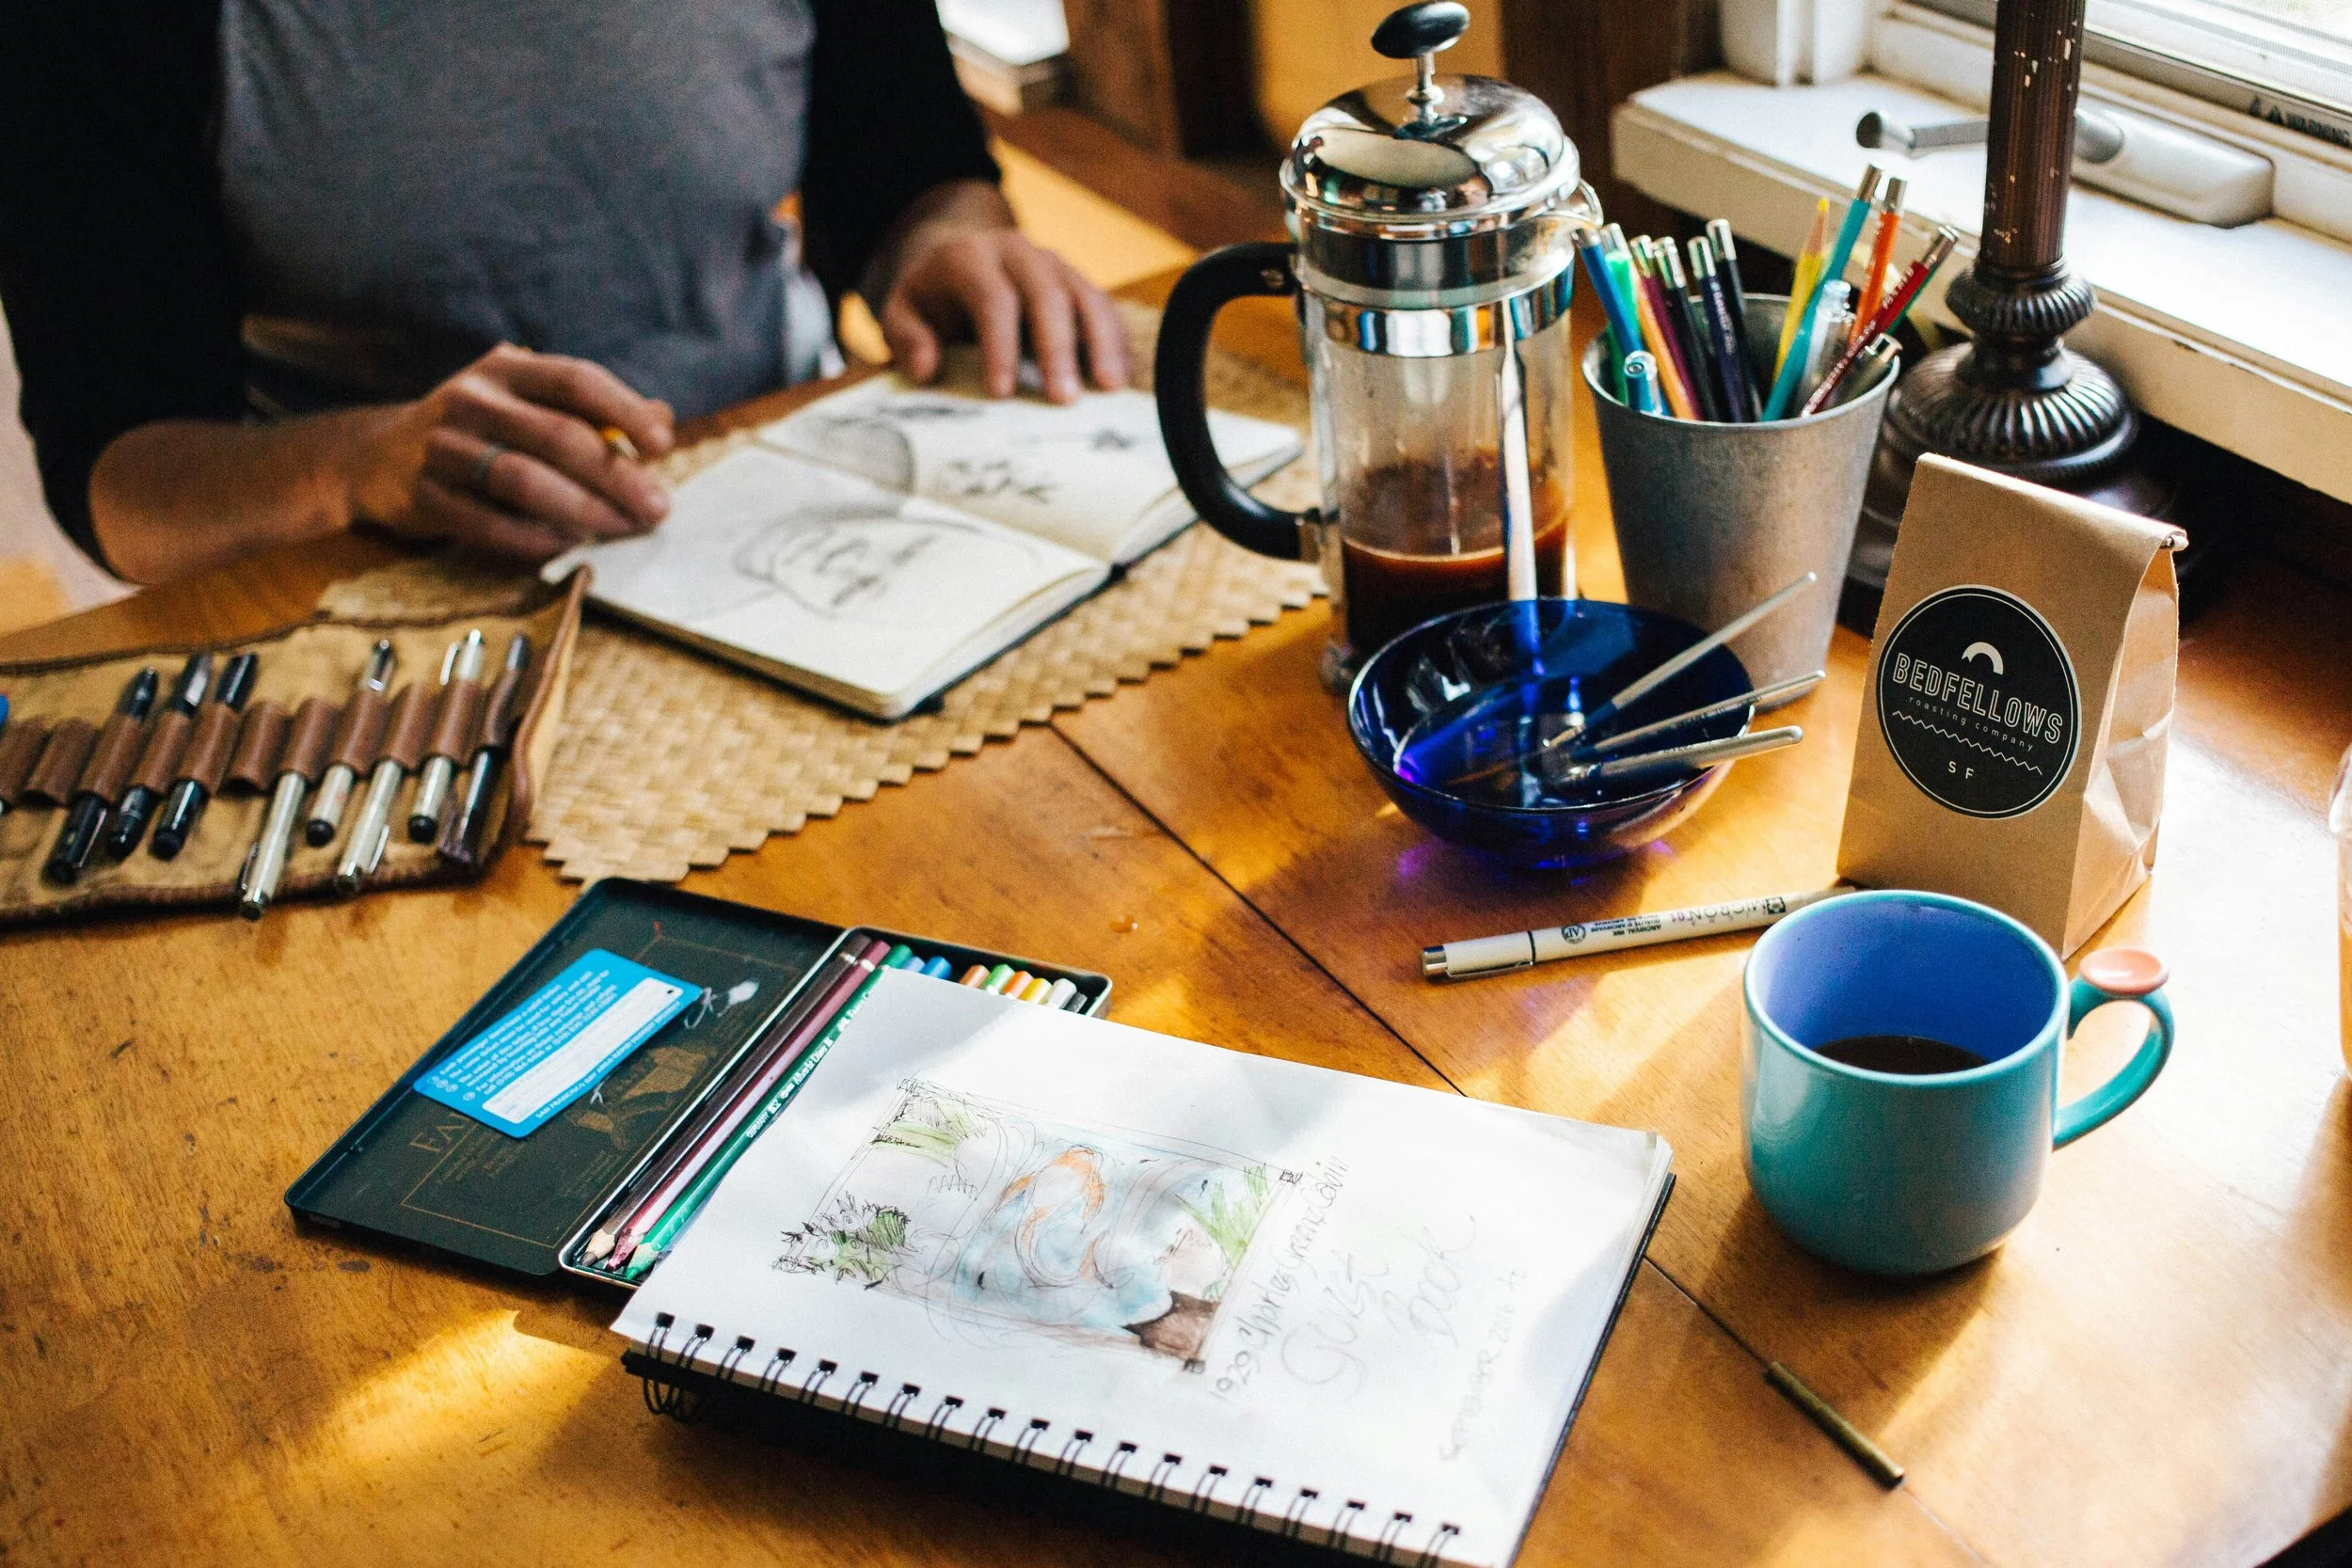
Step 1: Dream Big!
Every piece begins with a spark, a thought, a memory, a verse, or a fleeting moment that begs to be captured. This is where wonder runs free and imagination takes the lead. There’s no rush in this stage: it’s about listening, observing, and allowing the vision to unfold naturally. Dreaming is where the heart of the work is born, setting the tone for everything that follows.
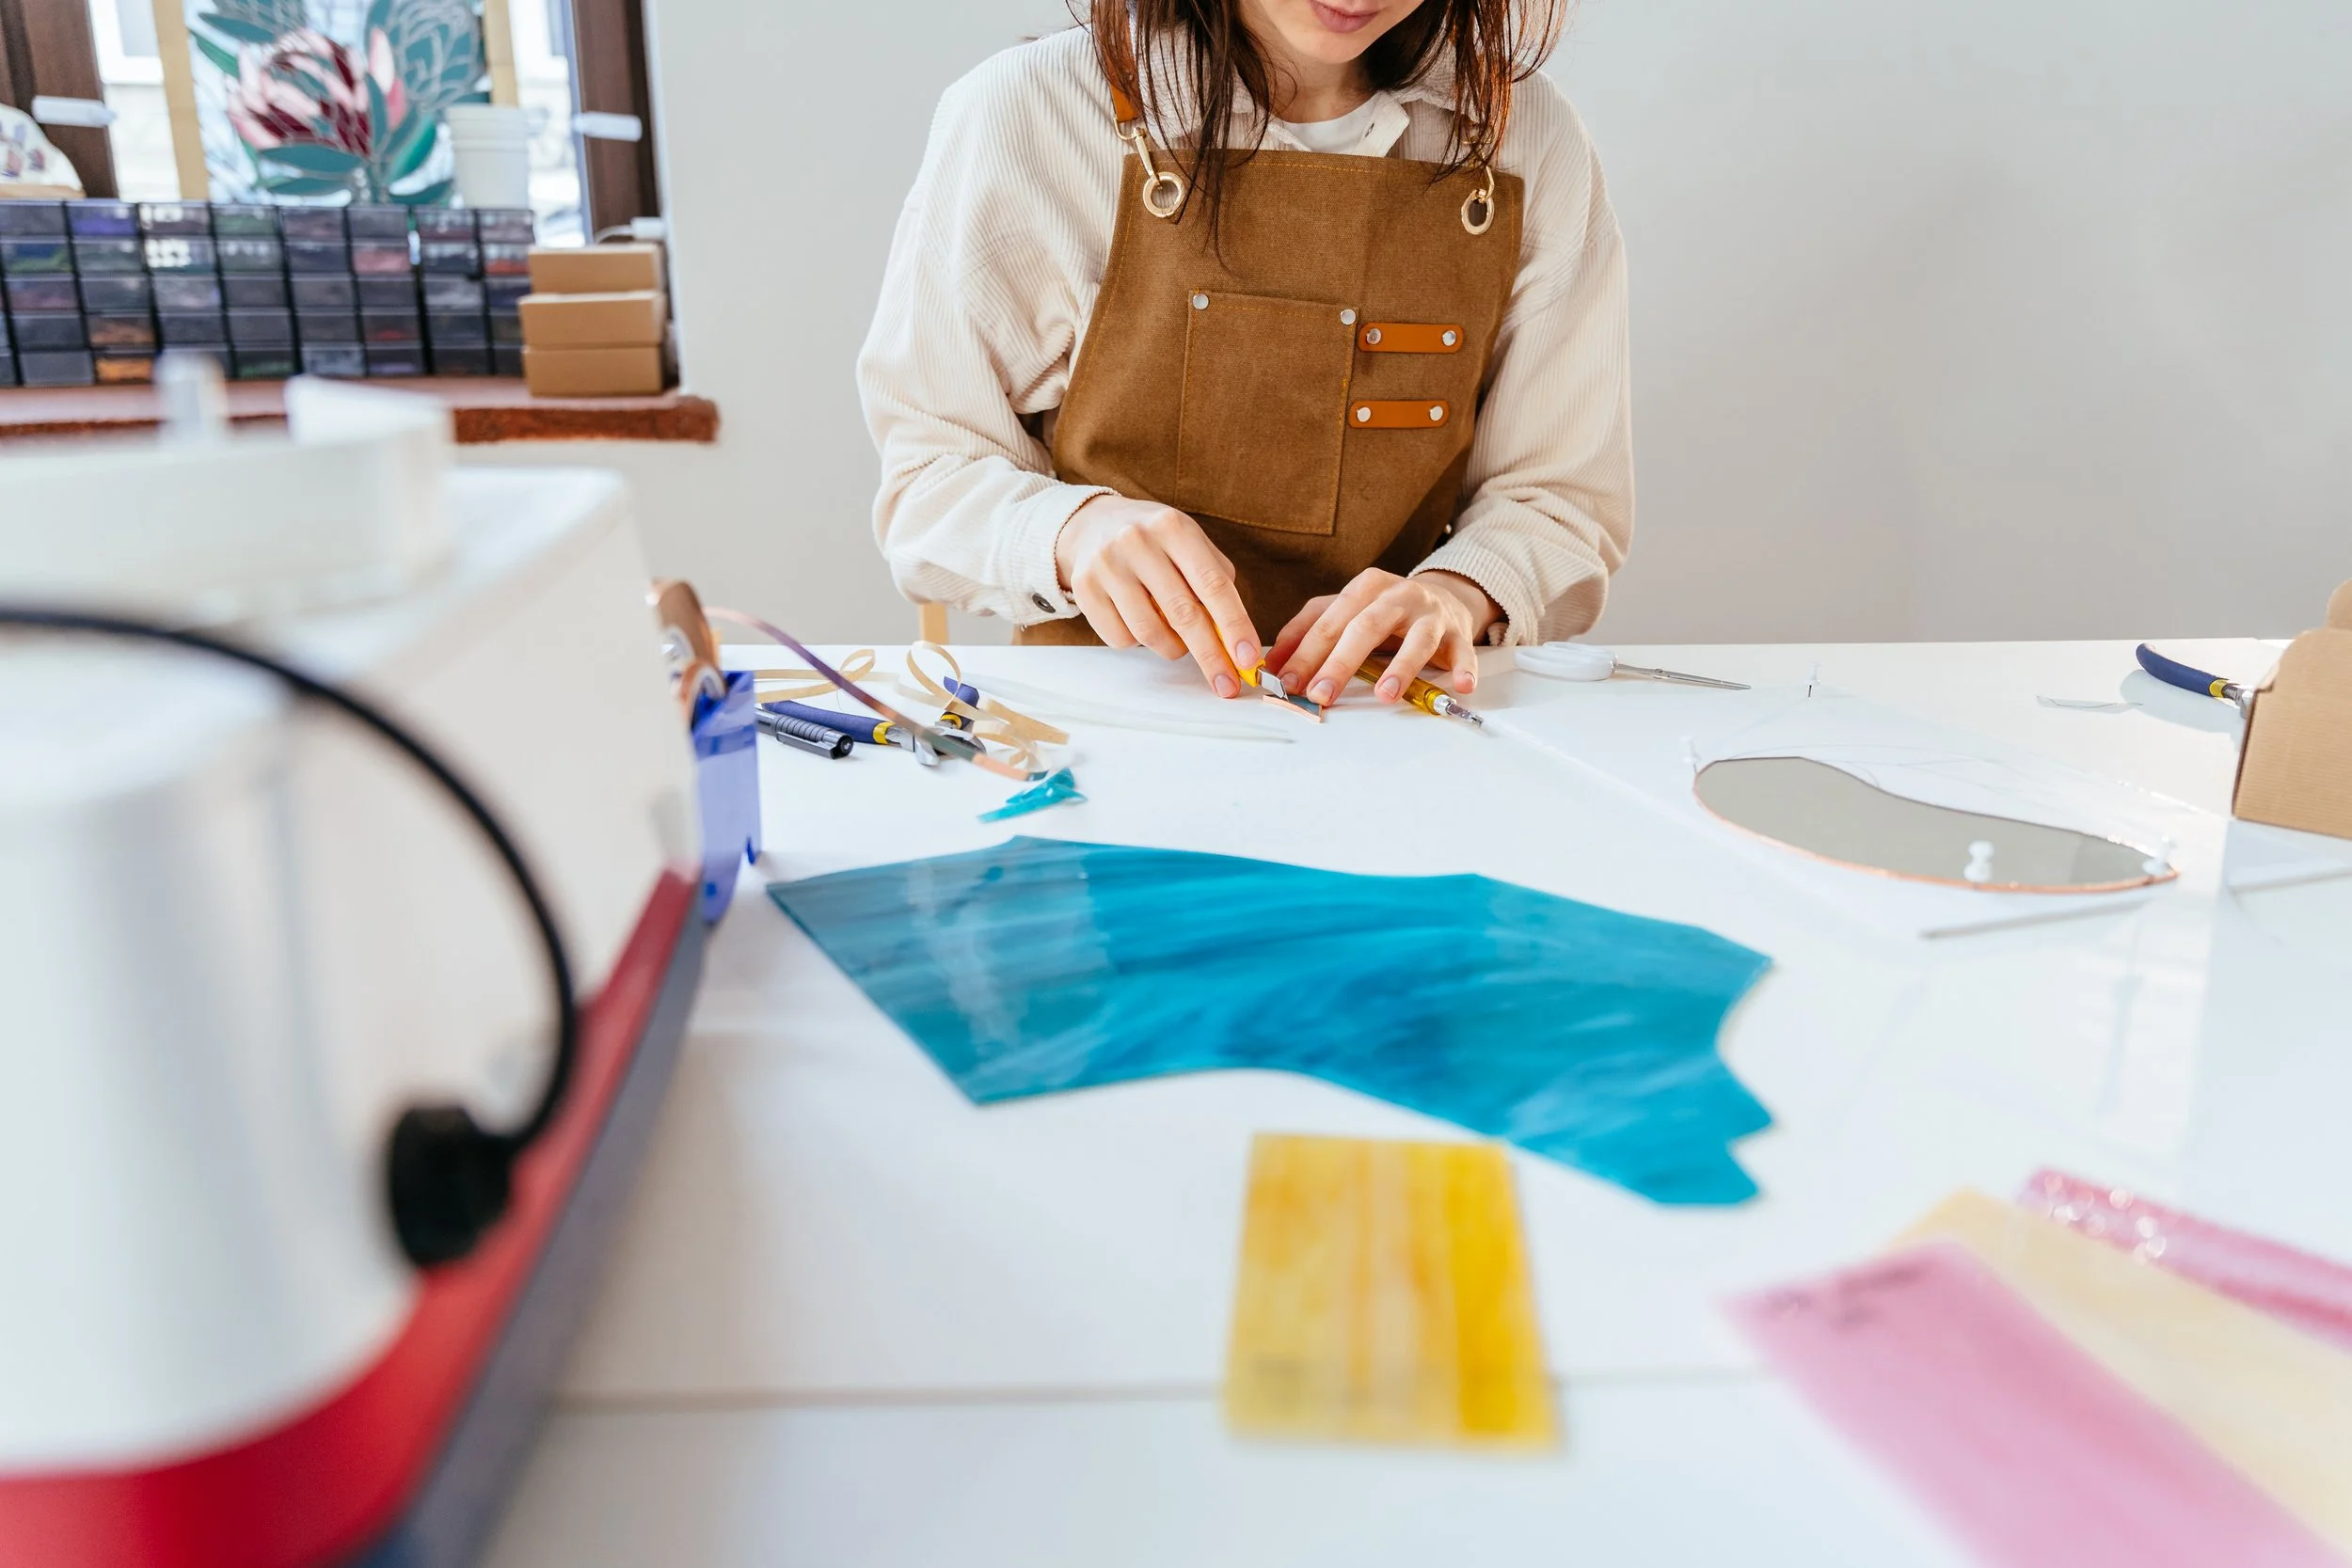
Step 2: Prepare your block.
Once the idea is set, it’s time to give it a surface to live on. That could be anything from a smooth sheet of linoleum to a gleaming piece of copper, a hefty slab of limestone, or even a humble school eraser. Each material has its own character, shaping how it holds a mark. This stage is about patience and care: cutting, smoothing, and preparing the block, sometimes even transferring an image, to turn a blank surface into the start of something beautiful.
Step 3: Get Carving!
With the block prepared, this is where the magic happens: line by line, cut by cut, mark by mark. Whether carving, etching, or drawing, each mark is deliberate yet open to discovery. It’s a balance of focus and joy, as the vision slowly becomes tangible.

Step 4: Inking Up!
With the design complete, ink brings it to life. First, a slab of ink is prepped on a glass surface, then rolled out with a brayer, until it reaches just the right consistency: smooth, even, and a low hiss sound (as my professors used to say). Then, the brayer is rolled overtop of the block, and the ink catches every line and detail of the image. This careful, intuitive process—balancing too much or too little—turns the carved surface into a bold image, revealed with each proof and first pull.

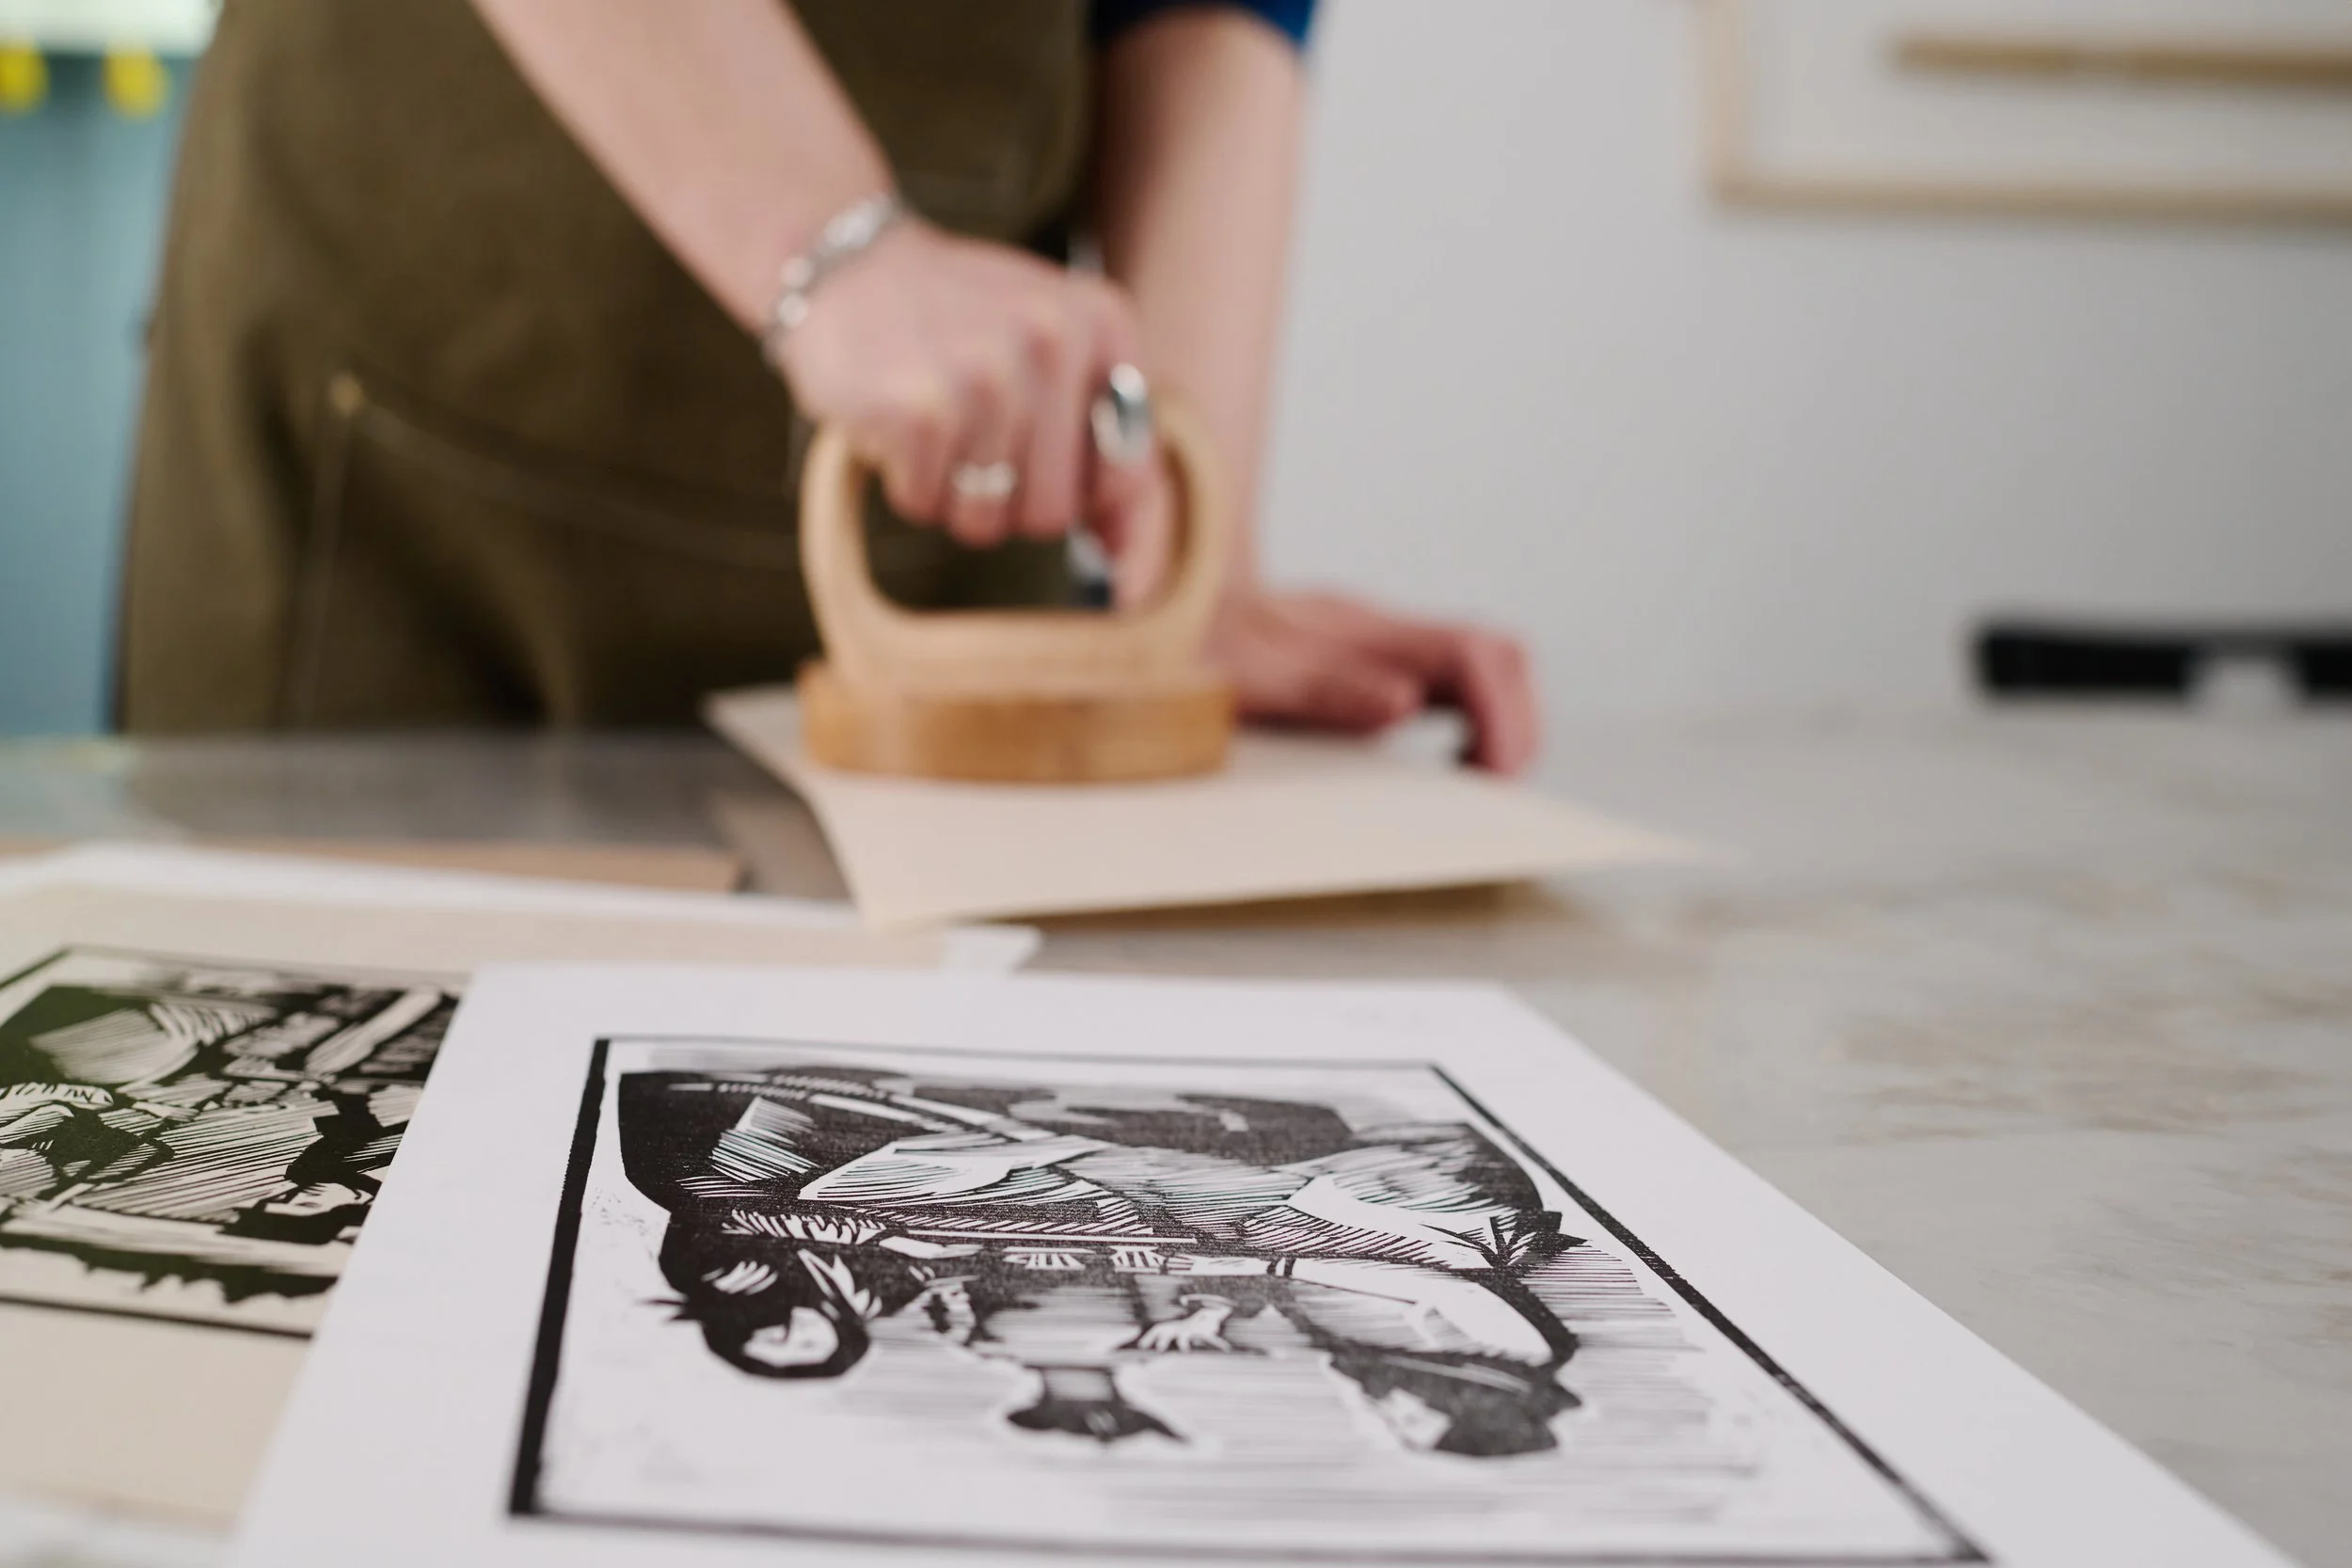
Step 5: The Big Reveal
With the block inked and ready, it’s time for the moment of truth. A sheet of paper is carefully placed over the surface, then pressure is applied, by press or even by hand. Then comes the best part: peeling back the paper to reveal the first impression. It’s a mix of anticipation and delight, seeing as the piece anew on paper, ready to share its story with the world.